
Contact Dayton Door Sales Today!
Thank you! Your submission has been received!
Oops! Something went wrong while submitting the form.


Garage door openers rely on small but important components to operate securely and efficiently. One of these features helps connect remotes, keypads, and accessories to the opener system. Understanding how it works can simplify troubleshooting and improve everyday convenience. Proper knowledge also supports safer garage access. In this blog, we explain the role of the learn button and how it affects your garage door opener.
The learn button is the programming button found on most electric garage door openers sold since the early 1990s, making it a core part of how garage doors and openers work together for daily operation. It serves as the central control point for teaching your opener to recognize new wireless devices.
When you press the learn button, it tells the opener’s logic board to listen for signals from devices you want to pair. This includes handheld remotes, wireless keypads mounted outside your garage, and built-in vehicle systems. The opener enters a temporary “learn mode” and waits for a device to transmit its code.
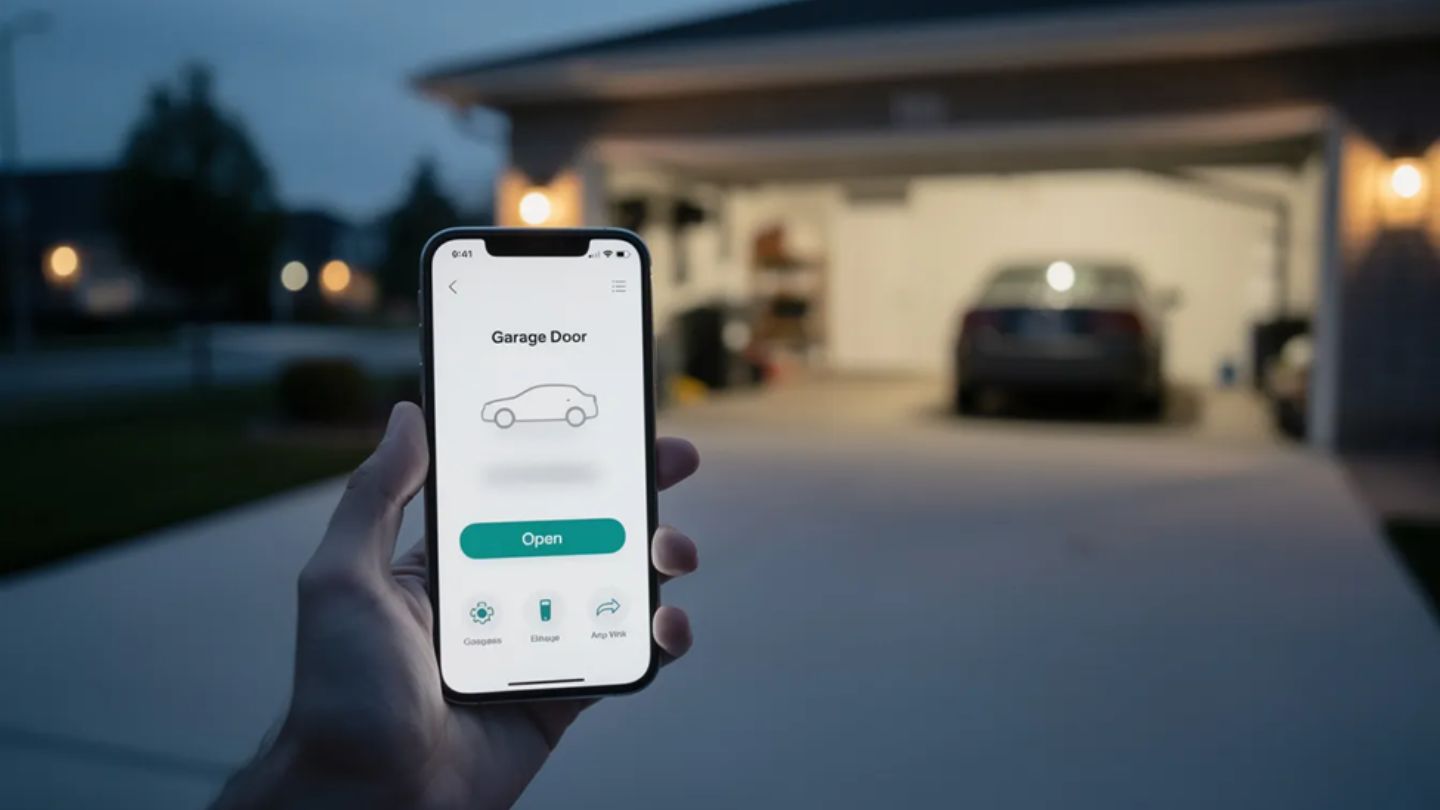
Beyond adding devices, the learn button can also erase all stored codes from the opener’s memory, reset certain safety features, and—on smart openers—initiate Wi-Fi setup mode. This makes it a versatile tool for managing convenient access to your garage.
The button is also part of your opener’s security system. Modern openers use rolling code technology, where each transmission generates a new pseudo-random code from billions of possible combinations.
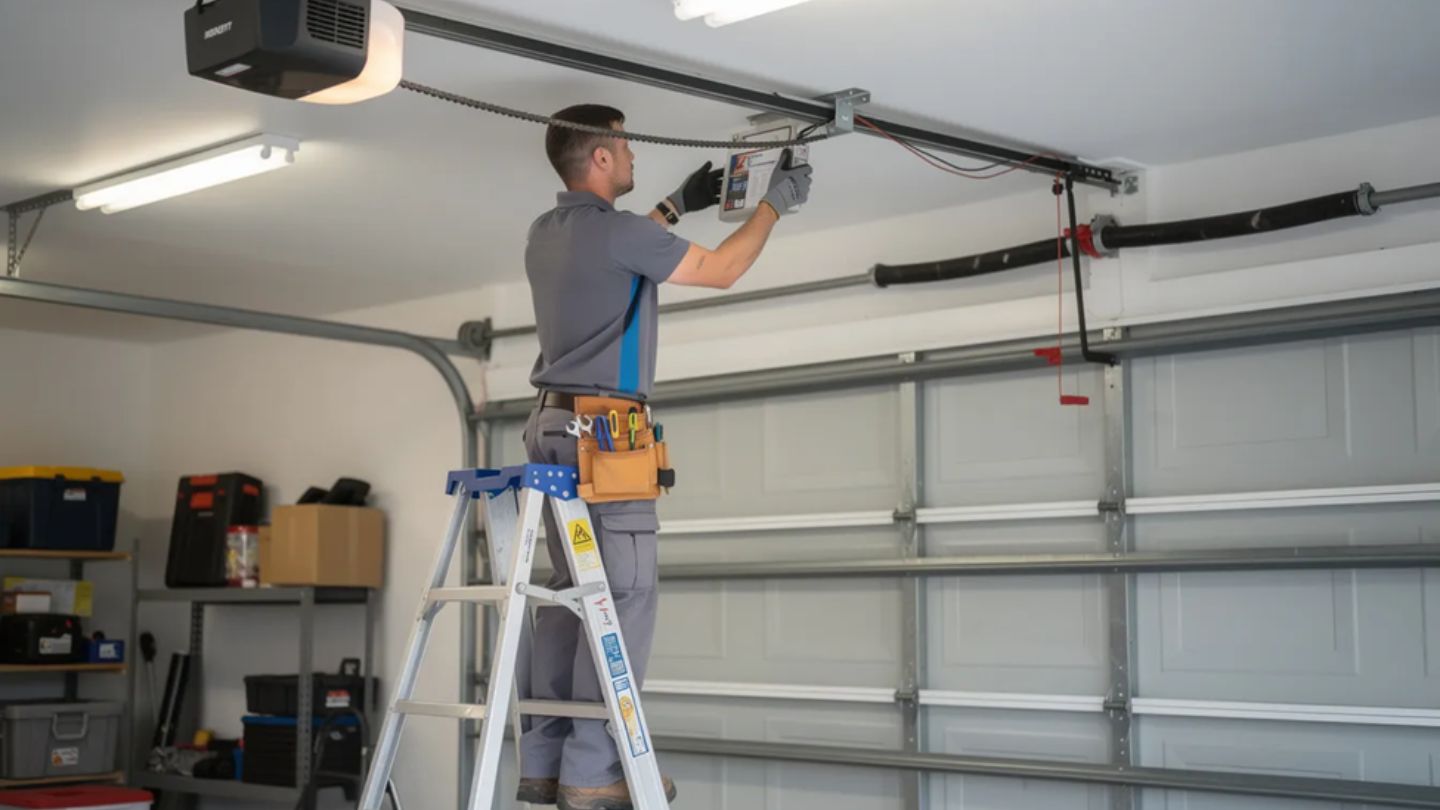
Before you start looking, grab a step ladder so you can safely reach the motor unit mounted on your ceiling, especially when confirming compatibility based on garage door opener size. Keep the power on—you’ll need it for programming—but stay clear of moving parts while the garage door opens or closes.
The learn button is typically found on the rear or side panel of the garage door opener motor, near where the thin antenna wire exits the case and hangs down. This antenna is your first landmark when searching for the button.
Some newer belt-drive models from the 2010s and 2020s have the learn button on an exposed back panel, positioned next to diagnostic LED lights. On these units, you won’t need to remove any covers.
For Genie machines, the learn feature may be labeled “Learn,” “Set,” or “Program.” It usually sits near the antenna wire and a red or green indicator LED. The location varies by model, so check both the rear and underside of the powerhead.
If the button isn’t immediately visible, look for a small colored button next to a printed label on the circuit board cover, since unusual sounds or behavior may relate to garage door opener noise issues. You can also check the inside of the opener’s cover or consult your owner's manual. Most manufacturers offer downloadable manuals on their websites—just search by model number to find yours.
On Chamberlain-group openers—including LiftMaster, Chamberlain, and many Craftsman models—the color of the learn button indicates the radio frequency and determines which remotes are compatible with your door opener.
Green learn buttons are commonly found on mid-1990s units. These typically operate on 390 MHz with Billion Code technology. If you have a green button, you’ll need remotes specifically designed for green-button compatibility.
Red or orange learn buttons (often labeled “Security+”) indicate 390 MHz rolling-code systems. These were used extensively in late 1990s and early 2000s openers. The rolling code feature was a major security upgrade from older fixed-code systems.
Purple learn buttons correspond to 315 MHz Security+ rolling-code technology. You’ll typically find these on machines manufactured from the mid-2000s to the early 2010s.
A round yellow learn button signals Security+ 2.0 technology, introduced around 2011–2012. These openers operate on tri-band frequencies (315, 390, and 433 MHz) for better range and improved security.
|
Button Color |
Frequency |
Technology |
Typical Production Years |
|
Green |
390 MHz |
Billion Code |
Mid-1990s |
|
Red/Orange |
390 MHz |
Security+ |
Late 1990s – Early 2000s |
|
Purple |
315 MHz |
Security+ |
Mid-2000s – Early 2010s |
|
Yellow |
315/390/433 MHz |
Security+ 2.0 |
2011 – Present |
When shopping for a new remote or keypad, make sure it matches both your brand and your learn button color family, particularly if you’re already noticing signs you need to replace your garage door opener. A remote designed for a purple button opener won’t work with a yellow button system.

Programming steps vary slightly by brand and button color, but the overall pattern is similar: put the opener into learn mode, then press the remote control button within a set time window.
Older square red, orange, green, and purple buttons typically offer a 30-second learn window. Newer circular yellow buttons often extend this to up to 2 minutes, giving you more time to complete remote pairing.
For a wireless keypad:
If a remote won’t program despite following the correct steps, check these common causes:
We recommend having all remotes and keypads ready before pressing the learn button so the opener doesn’t time out while you’re searching for devices.
Clearing memory wipes all existing remotes, wireless keypads, and in-car buttons from the opener, which is often recommended once you understand how long garage door openers last. This is essential when moving into a new house, after losing a remote, or if you suspect unauthorized access.
For most Chamberlain-group openers:
Square red, orange, green, and purple buttons typically need one long press (around 6 seconds) to erase all remote codes.
Some newer Security+ 2.0 models with yellow learn buttons use a two-step process. The first hold clears remote and keypad codes. A second hold, performed immediately afterward, can clear MyQ accessories and smart device connections on applicable models. Check your manual for your specific model’s requirements.
Consider erasing your opener’s memory when:
After a memory wipe, reprogram at least one remote immediately so the garage door can still be operated. Otherwise, you’ll need to use the wall-mounted garage door button until programming is complete.
Openers manufactured from roughly 2013 onward often include Wi-Fi or smart connectivity. On these units, the learn button may double as a Wi-Fi setup control.
On many LiftMaster MyQ units, a quick press of the learn button programs remotes as usual. However, a specific press-and-hold pattern—for example, holding until an adjacent blue or yellow LED starts blinking—initiates Wi-Fi pairing mode.
During Wi-Fi setup, the opener broadcasts a temporary network or waits to be discovered by the manufacturer’s mobile app (such as the myQ app). The learn button is used to confirm the connection or restart the pairing process if needed.
Some smart openers have separate buttons or LEDs labeled “Wi-Fi,” “MyQ,” or “Smart” functions. These are usually located near the learn button on the logic board cover. If your opener has these dedicated controls, follow the app’s on-screen instructions for the exact sequence.
To disconnect your opener from your home network and remove it from cloud accounts, use a longer press sequence on the learn or Wi-Fi button. This is helpful if you’re selling your house or troubleshooting connectivity issues.
Keep in mind that Wi-Fi features only affect smartphone and internet control. The basic learn-button programming for remotes and keypads still functions the same way, regardless of your network connection.
Almost every accessory that wirelessly communicates with your opener will rely on the learn button during setup, making it essential when managing modern garage door opener accessories.
|
Accessory Type |
Description |
|
Handheld remotes |
Visor remotes and mini keychain remotes from your opener’s manufacturer. |
|
Wireless keypads |
Keyless entry pads mounted outside the garage door |
|
In-vehicle systems |
HomeLink, Car2U, and mirror-integrated buttons in your new vehicle |
|
Smart interfaces |
MyQ Internet Gateways and built-in Wi-Fi modules |
|
Third-party controllers |
Retrofit Wi-Fi hubs or Z-Wave modules. |
For in-car systems like HomeLink, you’ll typically need to complete both your car’s programming steps and press the opener’s learn button. The process usually involves holding the car button while someone presses the learn button on the opener—a two-person job in most cases.
Before purchasing any accessory, verify it supports your opener brand and learn the button color or frequency range. A feature that doesn’t match your system simply won’t pair.
Wired wall consoles connect via low-voltage terminal screws and don’t typically require the learn button. However, advanced wall panels with “Program” or “Menu” keys may provide access to the opener’s learn functions from ground level.
If you’re buying accessories second-hand, clear or reset them according to the manufacturer's instructions before pairing them to your opener.
Always stand clear of the door’s path when programming, and keep children and pets away while testing the opener, especially when routine care like garage door lubrication is part of ongoing maintenance. The door can move unexpectedly during the process.
Remote won’t program:
Weak signal range:
Remotes stopped working suddenly:
LED or fluorescent light interference:
If the opener’s learn indicator flashes repeatedly after programming attempts, check your owner's manual for model-specific blink codes and error diagnostics.
When the opener still won’t accept new remotes after troubleshooting, the logic board may be failing. At that point, a professional garage door installation and repair service should inspect the system.
The Learn button plays a key role in pairing remotes, keypads, and accessories with your garage door opener. Knowing how it works helps homeowners troubleshoot issues, reset devices, and maintain secure operation. With proper use, this simple feature keeps your garage system running smoothly and safely over time.
At Dayton Door Sales, we help homeowners understand, maintain, and repair their garage doors in Dayton, Kettering, Tipp City, Bellbrook, and Beavercreek with confidence. From residential entry and patio doors, garage doors, openers, and accessories, garage doors, to door service and repair, choosing trusted support matters. If you need expert assistance with programming, troubleshooting, or upgrading your opener, work with us for dependable service and long-term performance you can rely on.
On most modern openers, the learn button is the only way to add or remove wireless remotes and keypads. Some advanced wall consoles have a “Program” or “Menu” path that triggers the same learn function, but there’s typically no alternative method if the learn button or logic board is damaged. In those cases, you’ll likely need professional assistance or a logic board replacement.
Not exactly. A quick press of the learn button adds new devices, while a long press erases all stored remotes and keypads. A true factory reset—which restores all settings, including travel limits and force levels—may require additional steps beyond the learn button alone. Check your manual for complete reset procedures.
Rapid blinking can indicate several issues: the opener timing out of learn mode, detecting interference from nearby electronics, or reaching its memory limit for stored remotes (typically 20–50 devices depending on the model). Try moving closer with the remote, programming one button at a time, and clearing the opener’s memory before re-adding each device.
No. The learn button is only used during setup, erasing, or Wi-Fi configuration. Once a remote, keypad, or smart device is successfully programmed, you simply press its own button to operate the door. The opener automatically recognizes the rolling code without further use of the learn button.